A decade ago, “scan” meant walking to a flatbed device and hoping the software cooperated.
Today, most people can create a crisp, shareable PDF in under two minutes with the phone already in their pocket. Receipts, contracts, school notes, insurance cards, and even multi-page forms can all be captured with surprisingly high quality if you understand a few essentials.
This guide explains how to scan on iPhone and Android using built-in tools, how to turn those captures into clean PDFs, and how to name, store, and protect them so you can actually find them later.
When those three work together, your result looks like a real document, not a dim photo of a desk.
Why a phone scan is often the best scan
Phones win on speed and convenience. They’re always with you, wake instantly, and can turn a single sheet into a named, shareable PDF before a desktop scanner has even warmed up.
They’re particularly effective for “lightweight” office tasks: expense reports, one-off approvals, onboarding forms, and study packets.
The quality is more than sufficient for printing and archiving when you capture with intent.
There are cases where a dedicated scanner still makes sense—high-volume backfiles, fragile historical documents, or color-critical art.
But for daily life and the vast majority of business workflows, the combination of a modern phone camera and the default scanning tools is not only adequate; it’s the most efficient option.
Set the scene for a clean capture
Nearly every “bad scan” is created before you ever press the shutter. Fixing the environment yields bigger improvements than any filter.
Bright, even light reduces noise and blur. A contrasting background helps the app find the paper’s edges.
A clean lens and a flat page prevent fuzzy corners and dark ridges. Hold the phone high enough to include all four corners with a bit of margin; you’ll crop later.
Pre-scan checklist
- Light: Bright and even. Avoid harsh top-down shadows and specular glare.
- Background: Dark surface for white paper (or vice-versa) so edges pop.
- Lens: Quick wipe with a microfiber cloth. Smudges = softness.
- Page: Smooth creases; keep fingers outside the frame.
- Position: Slightly above the page, parallel to it; include all corners.
- Intent: Decide whether you want color, grayscale, or black-and-white before capture; it guides how you light and frame.
With those basics in place, scanning becomes routine rather than fussy.
Scan on iPhone using the built-in Notes app
Apple’s Notes app includes an excellent document scanner that most people overlook.
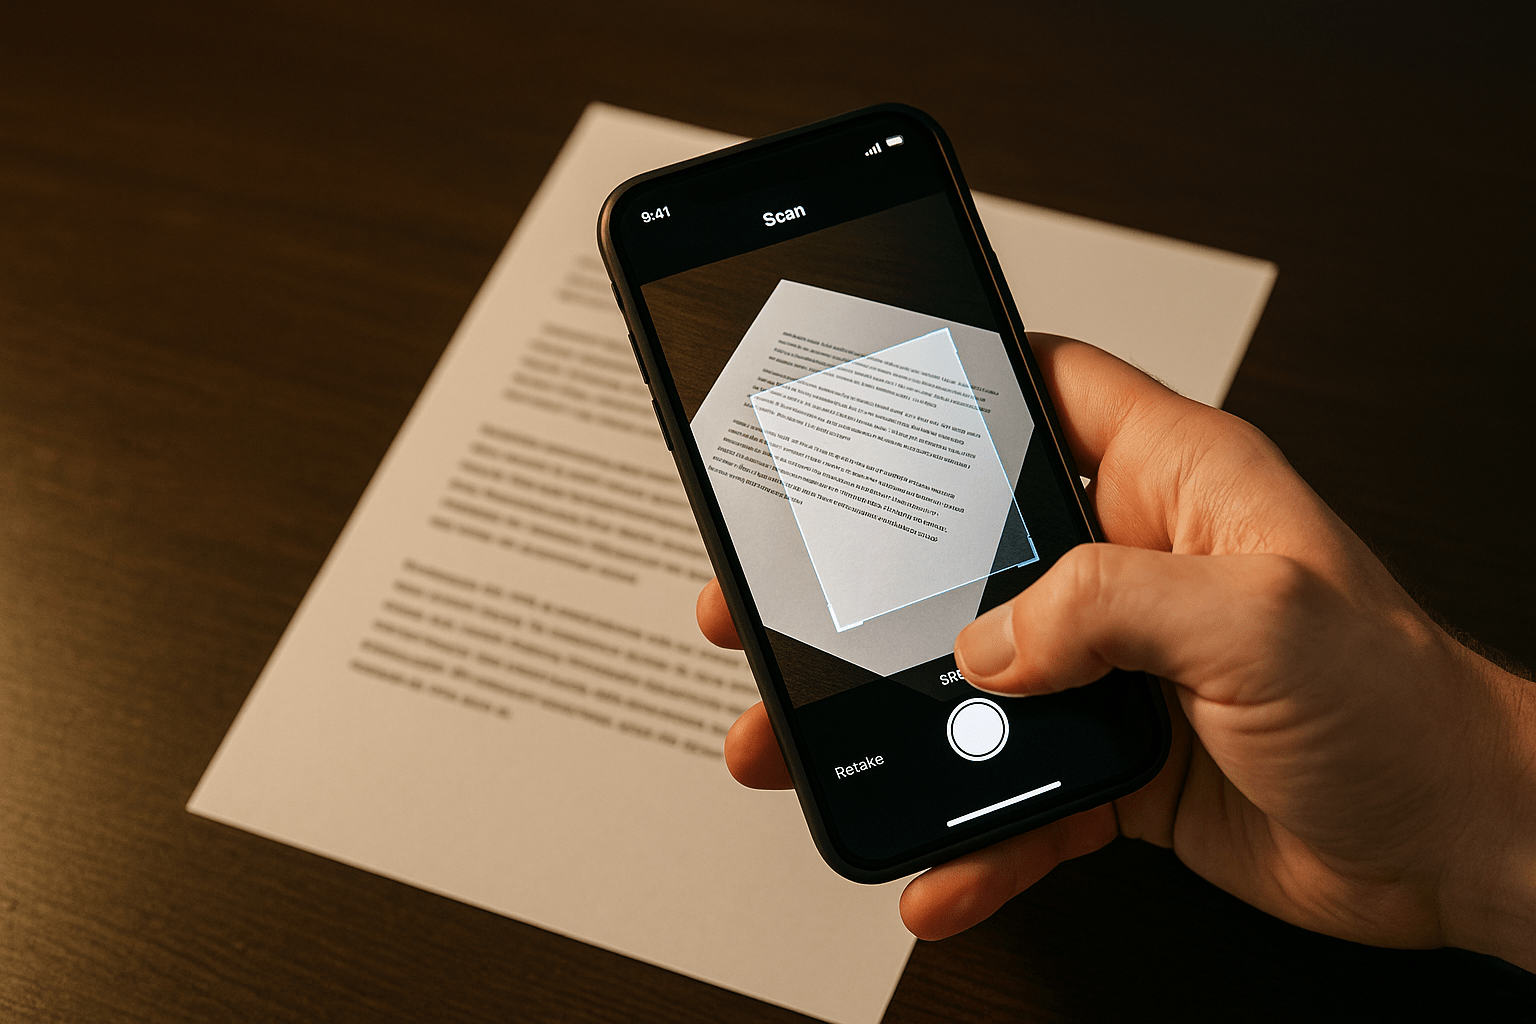
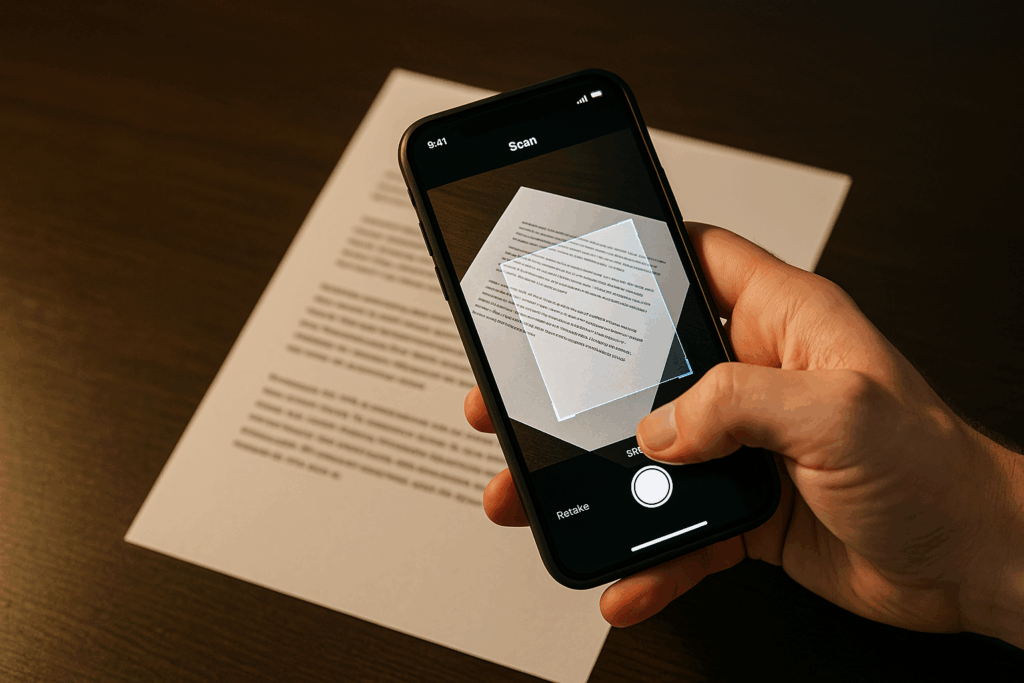
Open Notes, create a new note, tap the Camera icon, and select Scan Documents. Hold the phone above the page; the app will auto-capture when edges are stable.
If it doesn’t trigger, tap the shutter manually, then drag the corner markers to correct the crop.
Choose Keep Scan and repeat for additional pages. When you’re finished, tap Save.
From the scan thumbnail, you can rotate, adjust the crop, and apply filters.
For text-heavy pages, the Black & White or Grayscale filters often produce the cleanest result and the smallest file size.
When the scan looks right, tap the Share icon and select Save to Files to export as a PDF into a folder you control.
That last step is important; it frees your documents from a single app and makes filing, backup, and search easier.
Notes also supports markup. If you need to add initials, a short comment, or a simple signature, you can do that directly before exporting.
For stricter signature workflows, export the PDF first and sign within a dedicated e-signature tool approved by your counterpart.
Scan on Android with Camera or Files
Android is more varied, but most phones include two reliable, preinstalled paths. Many Camera apps offer a Document or Scan mode in addition to Photo and Video.
Switch to that mode, hold the phone above the page, and wait for edge detection; capture, adjust corners, and save.
If your model lacks a document mode, open your system Files app or the cloud-storage app that ships with the phone and look for Scan or Scan to PDF under the “+” or “Add” menu. Capture, crop, and save directly to a folder of your choice.
These first-party tools are fast, private, and widely supported. They also keep you out of trouble: no mystery permissions, no ad-heavy interfaces, and no unexpected uploads to third-party servers you don’t control.
Make the result look like a real PDF
A convincing document isn’t just about sharpness; it’s about legibility. After capture, ensure the page is perfectly rectangular and level.
Crop to the edges rather than leaving a wide border of desk around the page.
Use Black & White or Grayscale for text, which amplifies contrast and reduces file size. Use Color when the page contains highlights or stamps that matter.
If glare appears—especially on glossy paperb tilt either the phone or the page a few degrees so that reflections exit the frame.
For multi-page scans, keep the angle and lighting consistent from page to page.
The human eye notices when consecutive pages switch between warm and cool tone or between slight skew directions. Consistency is part of looking “professional.”
Convert, combine, and control file size
The default iOS and Android tools export directly to PDF. If a specific workflow gives you images (JPG/PNG), you can select them within your Files app and Create PDF or Print → Save as PDF.
Order matters arrange pages before saving, not after you’ve sent the file.
File size becomes important when emailing or uploading to web portals. For text documents, Black & White PDFs can be tiny without losing legibility. On the other hand, forms with fine lines or stamps sometimes benefit from a slightly higher resolution or from Grayscale to preserve nuance.
If a recipient complains about size limits, re-export at a lower resolution; if someone complains about faint text, re-export at higher contrast.
Store scans where you will actually find them
The difference between “organized” and “somewhere on my phone” is a consistent target folder and a predictable file name.
Export scans to a top-level Scans directory in your file system or cloud drive; inside it, create a small number of subfolders such as Receipts, Work, School, Insurance, and ID.
Don’t create more subfolders than you will remember search is powerful, but it works best when names and locations have a pattern.
Your future self will thank you for adding a few words to the file name and not relying on timestamps alone.
When an accountant or manager asks for “that receipt from September,” you should be able to surface it in seconds.
Naming that works in real life
- Pattern: YYYY-MM-DD_document-type_short-note.pdf
- Examples:
- 2025-09-24_receipt_lunch-client.pdf
- 2025-09-24_contract_freelance.pdf
- 2025-09-24_insurance_card-front.pdf
This format sorts chronologically, reads clearly, and keeps related items grouped without any special software.
Share responsibly and protect sensitive information
Many scans contain personal data—addresses, signatures, policy numbers, or payment details.
Treat them accordingly. Prefer view-only links with explicit permissions instead of blasting attachments to large groups.
Use a strong device passcode and, if your platform supports it, an app-level lock for your file manager.
Avoid uploading IDs or medical records to shared or unmanaged devices. When you must share over public Wi-Fi, do it through a secure app over HTTPS or via a trusted VPN.
It’s also worth knowing your local rules. Some jurisdictions impose stricter requirements for storing and transmitting identity documents or health information.
When in doubt, ask the organization requesting the file how they prefer to receive it and for how long they expect you to keep a copy.
Accessibility and searchability
A great scan is useful to everyone, not just the person with perfect vision and a high-resolution display.
High-contrast filters and thoughtful cropping improve readability for all. OCR (optical character recognition) is particularly valuable: it makes text selectable, searchable, and usable with screen readers.
Many desktop PDF tools can run OCR after the fact if your mobile tool doesn’t.
And when you embed a scan into a slide deck or a document, add alt text describing what the image contains; it’s quick and it removes barriers for colleagues using assistive technology.
iPhone workflow in detail
If you want a reliable, repeatable routine on iOS, this is a good baseline. Open Notes and start a new scan session. Hold the phone parallel to the page and let the auto-capture trigger; if it struggles, tap the shutter, then adjust the corner handles for a rectangular crop.
Use Black & White for text or Color for stamps and highlights. Add pages as needed, then save.
Export immediately with Share → Save to Files. Pick your Scans folder and add a specific name in the format you’ve chosen.
If the document needs initials or a short annotation, apply markup before you export or open the saved PDF in the Files app to add markup there.
For formal signature requests, follow the signing process the other party specifies—some require a particular e-signature provider.
Android workflow in detail
On Android, check whether your camera includes a Document mode; many do. The behavior is similar to iOS: hold steady, capture, crop, and confirm.
If your camera lacks a dedicated mode, open your system Files app or preinstalled cloud app and look for Scan.
Capture from inside that tool and save straight to your Scans folder as a PDF. Using the file manager has two advantages: you always know where the output goes, and you can rename files before they proliferate as “Scan (1).pdf,” “Scan (2).pdf,” and so on.
If your device supports shortcuts or widgets, create one that opens your preferred scanning path and targets the Scans folder automatically.
The fewer taps between “I have a document” and “It’s saved with a clear name,” the more you’ll actually keep your archive current.
Fix problems at the source
Most complaints about phone scans—blurry text, dark corners, crooked lines—come from rushing.
Slow down at the moment of capture and you’ll save ten times the effort later. Brace your elbows on the table. Raise the phone slightly to reduce distortion.
Angle the page a few degrees to kick glare away from the lens. Use manual capture when the auto-detector hunts.
Re-scan when a page is clearly substandard; editing cannot invent lost detail.
When your documents vary wildly from page to page, users notice. Keep lighting and angle consistent within a multi-page packet, and don’t mix radically different filters mid-document. Consistency is as important as resolution for perceived quality.
Receipts, IDs, and forms: special considerations
Receipts fade quickly, so scan them soon after you receive them and use Black & White to push faint thermal ink into readability.
Add the vendor name or amount to the file name; accountants will love you. For IDs, follow local rules and your organization’s policies.
Many companies forbid storing ID scans on unmanaged devices; when they allow it, they often ask for separate storage and explicit deletion after use.
With forms, remember that a “typed” or “drawn” signature may or may not be legally equivalent to a digital signature produced by a certified provider; when stakes are high, use the provider the recipient specifies.
Build a dependable scanning habit
The difference between “I scanned it once” and a trustworthy personal archive is small, consistent habits. Choose one scanning path and stick with it. Export to the same folder every time. Name files using a predictable pattern.
Back up that folder regularly either to a reputable cloud or to an encrypted local drive. Review your Scans directory monthly; archive what should be permanent, and delete what should not live on your phone indefinitely.
Privacy & safety essentials
- Share view-only links and restrict downloads when possible.
- Use device lock and, if supported, an app lock for your file manager.
- Prefer trusted, first-party scanning tools over unknown third-party apps.
- Store sensitive items (IDs, medical) in a separate, access-controlled folder.
- Follow your local laws and your organization’s data-handling policies.
These steps take seconds, but they prevent the most common mistakes.