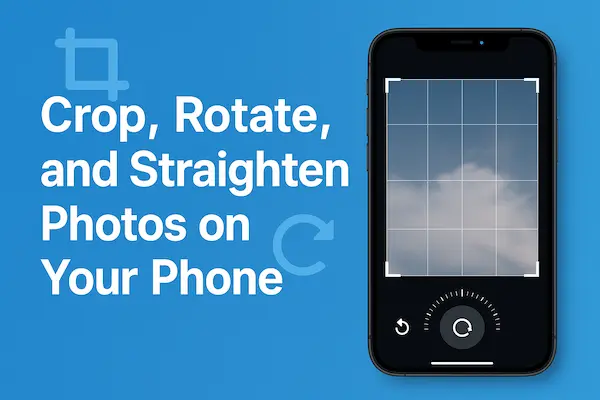
Learn how to crop and rotate photos on your phone with straightening, aspect ratios, and quick edits
For iPhone and Android.
What is how to crop and rotate photos and why it matters
Learning how to crop and rotate photos improves composition, removes distractions, and fixes horizon tilt in seconds.
Clean framing guides attention to the subject, while rotation and straightening correct camera angle mistakes.
Non-destructive edits on modern phones preserve originals so experiments stay safe and reversible.
Small improvements, applied consistently, raise perceived quality across feeds, portfolios, and product listings.
Good editing hygiene also speeds publishing because repeatable steps reduce indecision.
Clear goals before editing make each crop purposeful rather than arbitrary.
How to crop and rotate photos: core concepts that guide decisions
Cropping changes the frame to emphasize subjects, balance space, and create storytelling focus.
Rotation adjusts the entire image in degrees, while straightening aligns horizons and vertical lines.
Aspect ratio defines width-to-height, such as 1:1, 4:5, 3:2, or 16:9, and should match the target platform.
Rule of thirds, leading lines, and negative space help decide what to include or remove.
Non-destructive workflows let users revert to original at any time without quality loss.
Copies or virtual versions allow multiple outputs from a single capture.
How to crop and rotate photos: when to use each tool
Crop when edges contain clutter, when a tighter portrait reads better, or when products need center stage.
Rotate when handheld shots lean slightly left or right and the horizon drifts.
Straighten with grid overlays to align shorelines, buildings, or table edges.
How to crop and rotate photos on iPhone (Photos app)
Open a photo in Photos, tap Edit, then choose the Crop/Rotate tool with the square and arrows icon.
Drag corner handles to crop, pinch to zoom, and drag the image to reposition inside the frame.
Use the dial beneath the photo to rotate or straighten with grid guidance and degree feedback.
Tap Aspect Ratio to pick Freeform, Square, 4:5, 3:2, or 16:9, and toggle portrait or landscape.
Use Vertical and Horizontal perspective sliders to fix keystone distortion on buildings.
Tap Done to save a non-destructive edit that can be reverted anytime via Revert.
How to crop and rotate photos on iPhone: pro tips for speed
Enable Grid in Settings → Camera to help capture straighter shots before editing starts.
Duplicate a photo first if multiple versions are needed, then edit the copy for social crops.
Use Favorites to flag selects and batch-edit them in a focused session.
How to crop and rotate photos on Android (Google Photos)
Open the image in Google Photos, tap Edit, and choose Crop.
Drag the edges, select Free, Square, 16:9, 4:3, or 3:2, and pinch to resize or reposition.
Use the Rotate button for 90° turns or the Straighten slider for fine-tuned alignment.
Tap Perspective to adjust vertical and horizontal skew, then use Auto to test a quick fix.
Compare Before/After with a long-press on the image to validate changes.
Save the edit non-destructively or Save copy when a separate version is required.
How to crop and rotate photos on Android: batch and sync ideas
Create an album called “To Publish” and move finished crops inside for easy sharing.
Turn on backup so edits sync across devices, preventing mix-ups between versions.
Add captions or descriptions during review to accelerate posting later.
How to crop and rotate photos: composition frameworks that actually help
The rule of thirds places key features along grid lines or intersections for balanced energy.
Central framing suits symmetrical subjects, products, and minimalist aesthetics.
Leading lines like roads or rails guide the eye toward the subject inside the crop.
Negative space creates breathing room and makes text overlays more legible.
Tight crops on faces or hands increase emotion and clarity in small screens.
For groups, leave space toward gaze direction so subjects “look into” the frame.
How to crop and rotate photos: aspect ratios for common platforms
1:1 fits square feeds and profile grids elegantly with minimal letterboxing.
4:5 maximizes vertical screen real estate on many social apps without cropping captions.
16:9 matches horizontal video thumbnails and landscape galleries for a cinematic feel.
3:2 mirrors classic photo prints and many camera sensors for natural balance.
Choose ratio after deciding where the photo will live to avoid re-cropping later.
How to crop and rotate photos: straighten and perspective fixes
Use the grid overlay to align horizons with the horizontal line for beaches, skylines, and fields.
For architecture, align vertical edges with grid columns to avoid leaning buildings.
Apply moderate perspective correction to retain realism, avoiding extreme stretches.
Check corners for unintended clipping or stretched faces after transforms.
Zoom in and scan edges to catch micro-tilt that becomes obvious after export.
Re-center the subject after straightening because the canvas may shift.
Toggle before/after while zoomed to 100% to confirm lines truly sit straight, not just “feel” straight.
Snap to minor degree increments for subtle rotation, then fine-tune by tenths if your app allows it.
Use vertical and horizontal sliders separately to correct keystone without twisting the entire frame.
Watch for repeating patterns like tiles or windows; skew is easiest to spot when patterns should be parallel.
Crop a touch wider before heavy straightening so trimming room remains after perspective warps.
Confirm that faces remain natural by checking eye lines and ear height after any geometric correction.
How to crop and rotate photos: preserve detail and sharpness
Avoid over-cropping that forces heavy upscaling on export.
Prefer optical closeness at capture or moderate crops that keep enough pixels.
If resolution drops, export at platform-native sizes to prevent extra compression.
Sharpen after resizing, not before, so halos and noise do not amplify during downscale.
Keep ISO noise in mind; aggressive crops reveal grain, so consider gentle noise reduction first.
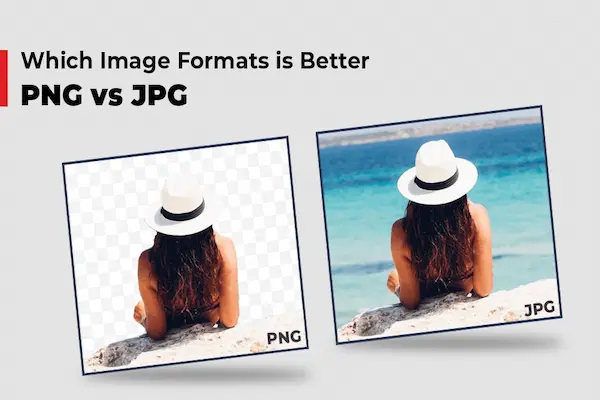
Export in PNG for flat graphics and logos when JPEG artifacts hurt perceived sharpness.
Use HEIC or high-quality JPEG for photos when file size matters but detail must remain clean.
Check edges and fine textures like hair or fabric to judge real sharpness, not just center detail.
Avoid stacking multiple saves; work from the original edit and export once at the final size.
Name outputs with dimensions, such as “_1080x1350,” to reuse the sharpest version without recompressing.
How to crop and rotate photos: preserve detail and sharpness
Avoid over-cropping that forces heavy upscaling on export.
Prefer optical closeness at capture or moderate crops that keep enough pixels.
If resolution drops, export at platform-native sizes to prevent extra compression.
How to crop and rotate photos for portraits and selfies
Always work in apps that preserve the original so edits can be rolled back.
Duplicate before platform-specific crops to maintain a master version.
Export with clear names like “_1x1”, “_4x5”, or “_16x9” to track variants.
Back up originals and edits to cloud storage to prevent accidental loss.
Keep a small “Deliverables” folder with final crops ready for reuse.
Document a simple step list so results stay consistent across sessions.
Store edit notes in the file’s metadata or a README so future you remembers why choices were made.
Sync libraries across devices and verify that edits appear identically on phone and desktop.
Set a monthly reminder to audit space, delete duplicates, and refresh outdated exports.
Keep a “Working” album separate from “Published” to avoid mixing drafts with approved images.
Create a version map for big projects so collaborators know which crop is current and where it lives.
Enable automatic cloud backup on Wi-Fi and charging to capture new edits without manual uploads.
How to crop and rotate photos: a repeatable five-step routine
Open, favorite, and duplicate the keeper image.
Straighten with grid lines and fix perspective gently.
Choose aspect ratio based on destination platform.
Crop to remove clutter and place the subject with intent.
Export at native size for the platform with a clear filename.
Review on a phone screen and a desktop to confirm readability and edge sharpness.
Create an alternate crop with more negative space when text or overlays may be added later.
Save a master preset set for 1:1, 4:5, and 16:9 so repeats are one tap away.
Log the final choice in your Deliverables folder and archive unused versions for reference.
Share a before/after pair with collaborators to align taste and speed approvals.
How to crop and rotate photos: nondestructive workflow and backups
Always work in apps that preserve the original so edits can be rolled back.
Duplicate before platform-specific crops to maintain a master version.
Export with clear names like “_1x1”, “_4x5”, or “_16x9” to track variants.
Back up originals and edits to cloud storage to prevent accidental loss.
Keep a small “Deliverables” folder with final crops ready for reuse.
Document a simple step list so results stay consistent across sessions.
How to crop and rotate photos: a repeatable five-step routine
Open, favorite, and duplicate the keeper image.
Straighten with grid lines and fix perspective gently.
Choose aspect ratio based on destination platform.
Crop to remove clutter and place the subject with intent.
Export at native size for the platform with a clear filename.
Common mistakes and quick fixes
Over-rotating creates unnatural slants, so verify with grid and horizons.
Cropping too tight cuts off elbows, hats, or props and reduces context.
Ignoring aspect ratios leads to unexpected auto-crops when posting.
Tilting to “add energy” often reads as accidental unless style is consistent.
Fixes include subtle adjustments, alternate ratios, and leaving more breathing room.
When in doubt, duplicate and try both a tight and a roomy crop for A/B review.
How to crop and rotate photos: troubleshooting on export
If edges look soft, reduce crop amount or export at a smaller, native platform size.
If social apps crop captions or heads, re-export at the recommended ratio.
If grid looks misaligned after upload, check app auto-straighten and disable if needed.
If banding or artifacts appear, export in higher quality or use PNG for flat graphics.
Conclusion and next steps
Consistent micro-edits in crop, rotate, and straighten produce clearer stories with minimal effort.
Choosing ratios that match destinations prevents rework and keeps subjects prominent on small screens.
Non-destructive habits and simple naming protect masters and speed future publishing.
A five-step routine turns editing from guesswork into a reliable, repeatable process.
Practice on a small set today, export two ratios for one image, and compare which version reads best on a phone.
Schedule a weekly ten-minute review to straighten horizons, refine crops, and file final exports with clear names.
Create a simple preset list—1:1, 4:5, and 16:9—so common outputs are fast and consistent across projects.
Back up originals and edited variants to the cloud to preserve rollbacks and avoid accidental overwrites.
Revisit past posts quarterly to spot patterns, update templates, and refine what “good framing” means for your brand.
Share before/after examples with collaborators to align taste and accelerate approvals on future edits.